AI Living Room Redesign: A Before-and-After Example
An AI living room redesign can help you compare finishes and furniture in the context of a room photo. This example compares two images in Architectural AI’s demonstration library: the source room and its Japandi redesign. It is a product example, not a customer testimonial or a record of a completed renovation.
The source room
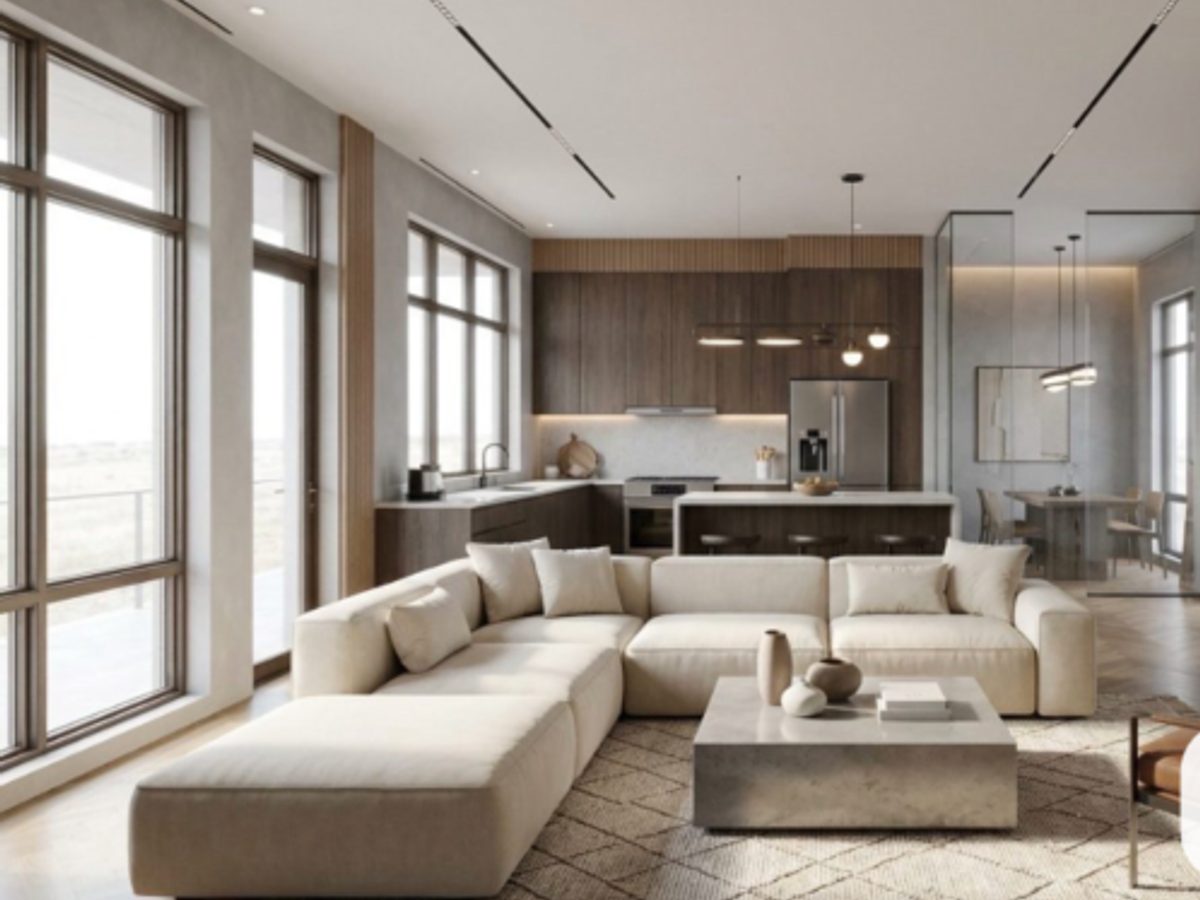
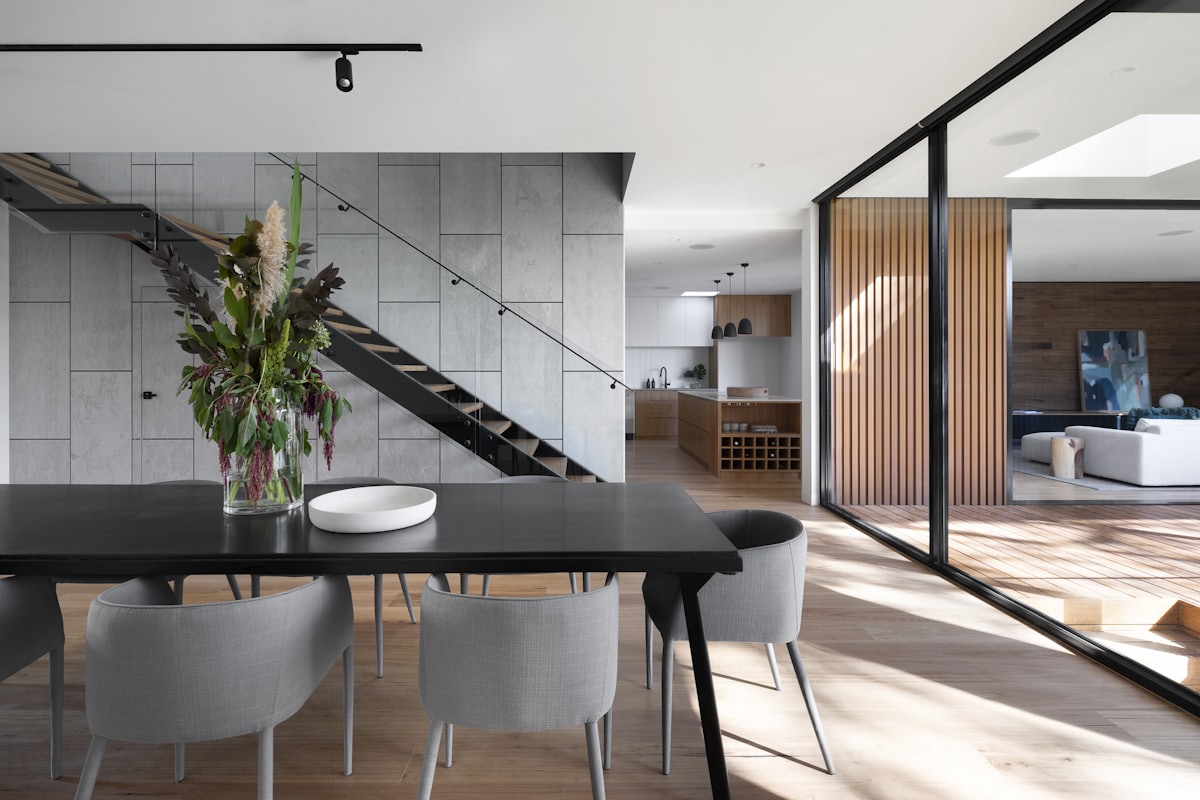
The source image shows an open-plan living room and kitchen. A cream sectional faces a rectangular coffee table; dark cabinets frame the kitchen behind it. Tall windows run along the left wall, and a glass partition separates the dining area on the right.
This is a useful comparison scene because it contains several decisions at once: the relationship between living-room and kitchen finishes, the scale of the coffee table, and how pendant lights draw attention to the island.
The Japandi redesign
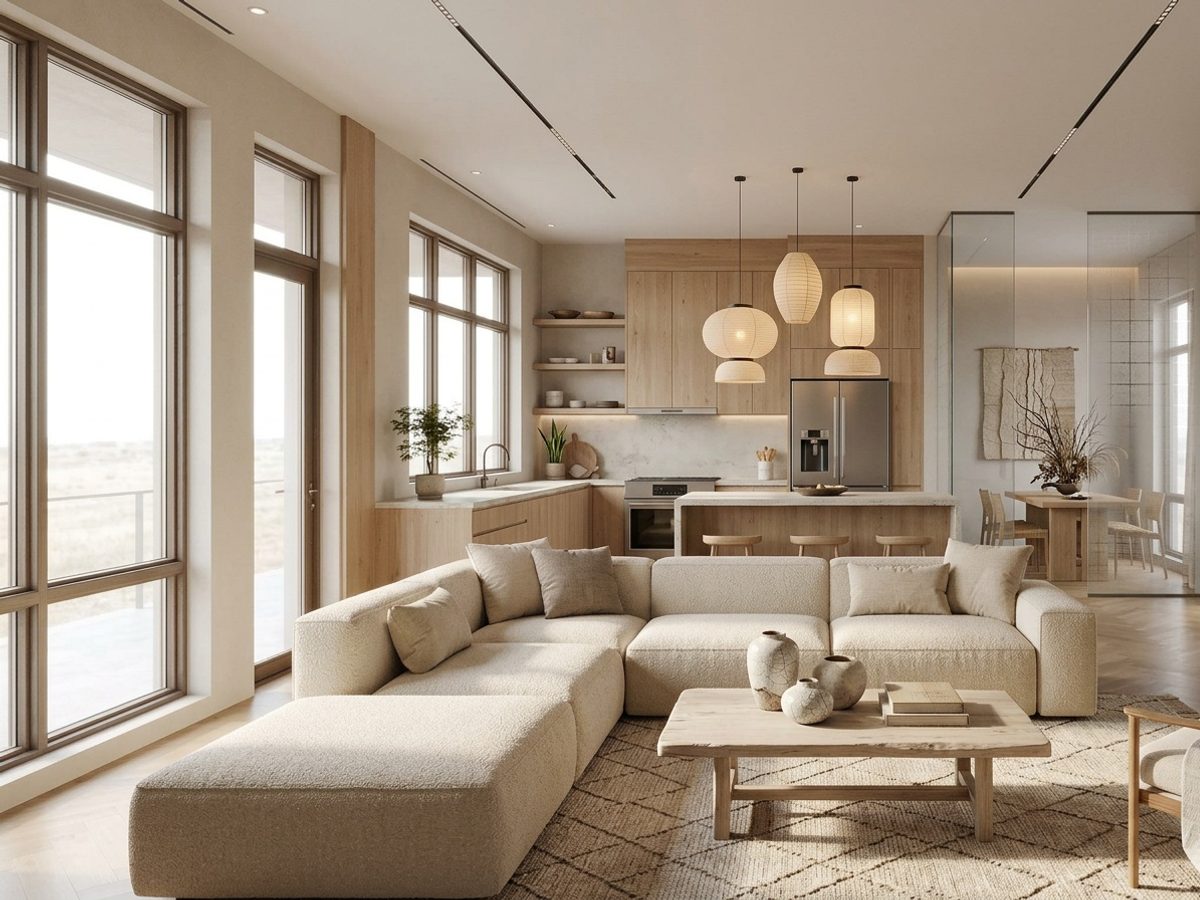
The output keeps the room broadly recognizable while changing its visual character. Lighter timber replaces the dark kitchen finish. A cluster of paper-like pendant shades replaces the original lighting, and the stone-look coffee table becomes a timber table with a softer outline.
The windows, sofa area, island and dining area remain in similar positions. That is a visual observation about these two images, not a guarantee that every generation preserves your room’s dimensions or furniture.
What changed, and what needs checking?
| Element | Visible change | Check before acting |
|---|---|---|
| Kitchen cabinetry | Dark finish becomes lighter timber | Test a physical finish sample against your flooring and daylight |
| Island lighting | A cluster of light, rounded shades replaces the original fixtures | Check ceiling height, fixture dimensions and electrical installation |
| Coffee table | A stone-look block becomes a timber table | Measure reach from the sofa and the walking route around it |
| Accessories | Plants, vessels and wall art change | Pick a few elements instead of copying every generated object |
| Room structure | Overall composition remains recognizable | Compare every window, opening and wall against the original photo |
The image does not identify purchasable products. It also cannot tell you whether a cabinet refinish is feasible, whether a light fitting is suitable for the circuit, or whether a table has enough clearance around it.
How to run a useful comparison on your own room
- Take one clear photo. Include the furniture, floor, windows and the wall you want to change. Keep the phone level and avoid an extreme wide-angle view.
- Choose a single direction. Start with Japandi or compare it with Modern and Scandinavian.
- Keep the source photo the same. This makes the difference between styles easier to judge.
- Inspect fixed features first. Look for moved windows, distorted doors and changes to the room’s proportions before evaluating the decor.
- Turn the output into a brief. Write down a finish, a lighting direction and one furniture change you want to investigate.
- Measure before buying. Use the room measuring checklist and furniture clearance guide.
Where can you try it?
Architectural AI generates designs in its iPhone and iPad app. The download includes starter tokens; further generations use tokens or an optional subscription. The browser generator is currently unavailable. You can explore examples on this website before installing the app.
See more examples, check verified prices, or get the iOS app.
Example methodology
The images are the local demonstration assets before.jpg and japandi.jpg used by this site’s before-and-after components. The observations above describe what is visible in those images. No measured accuracy score, customer outcome, renovation saving or generation time was recorded for this example.
Keep reading